Setting up a 1v1 in CS2 is a great way to practice your skills, warm up, challenge your friends, or simply enjoy some intense one-on-one gameplay.
Whether you’re aiming to improve your aim, test your reflexes, or settle a friendly rivalry, here’s a step-by-step guide to getting your 1v1 match started.
Before Starting: Activate Your Developer Console
The developer console is a powerful tool in CS2 that lets you customize your gaming experience down to the smallest details. If you haven’t enabled it yet, here’s how to do it:
- Click on the gear icon (settings) located in the bottom left corner of the main menu.
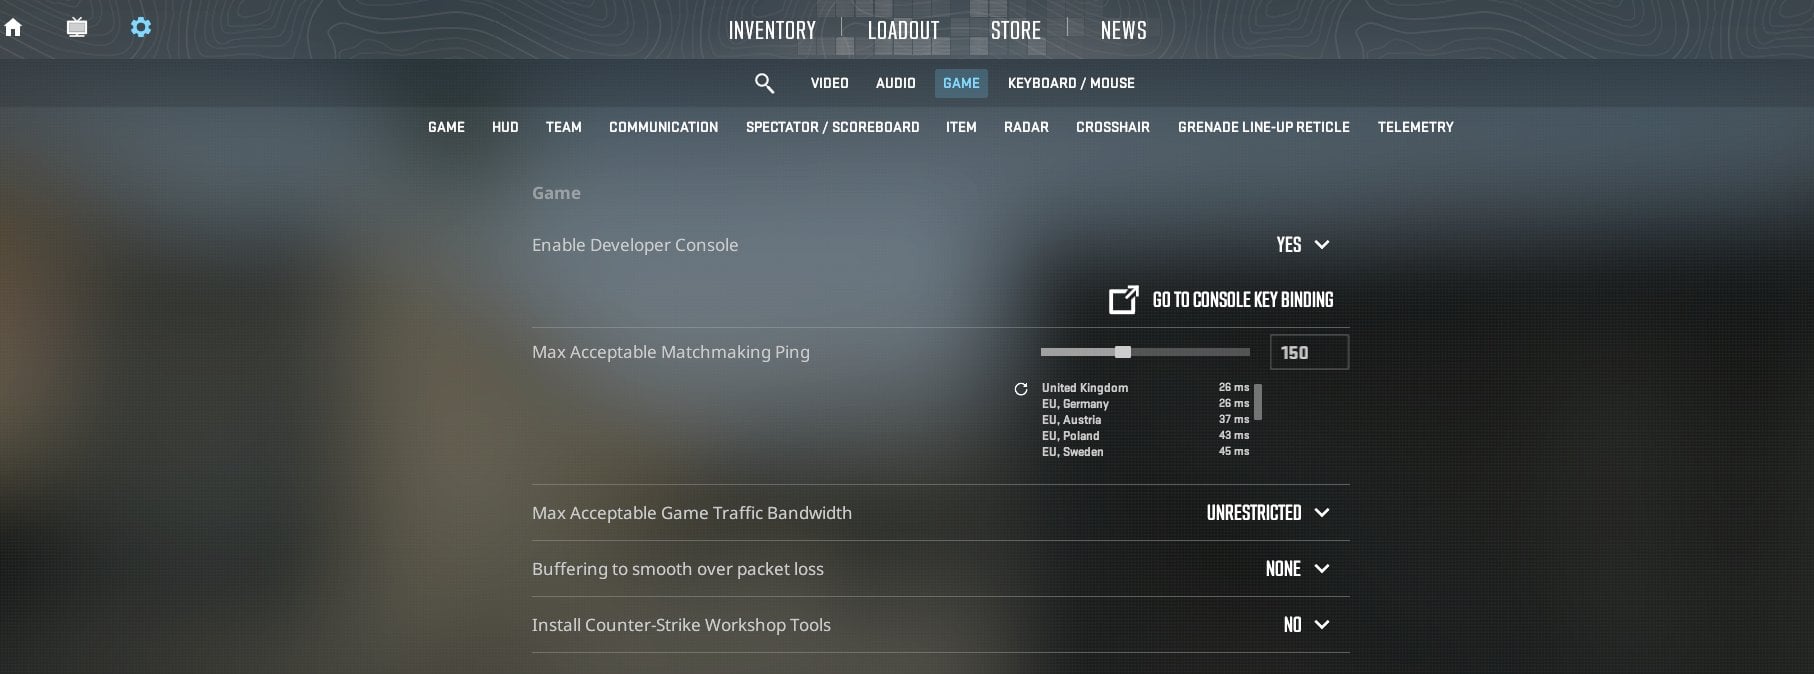
- In the settings menu, head over to the “Game” tab.
- Look for the option labeled “Enable Developer Console (~)” and switch it to “Yes.”
- You can now open the console by pressing the ~ key (typically located below the Esc key).
The developer console is not just for setting up 1v1 matches; it’s an invaluable tool for tweaking your game in general, from adjusting crosshair settings to viewing performance statistics. You can learn more about the console in our dedicated article.
Step 1: Launch CS2
Ensure that the game is up to date. Launching Counter-Strike 2 should be straightforward, but updating the game will reduce the chances of running into glitches or compatibility issues during your match. If you or your friend is running into issues, you can always verify the integrity of the game files. To do this, right-click CS2, select ‘Properties’ -> select ‘Local Files’ -> click ‘Verify Integrity of Game Files’.
Step 2: Choose a Map
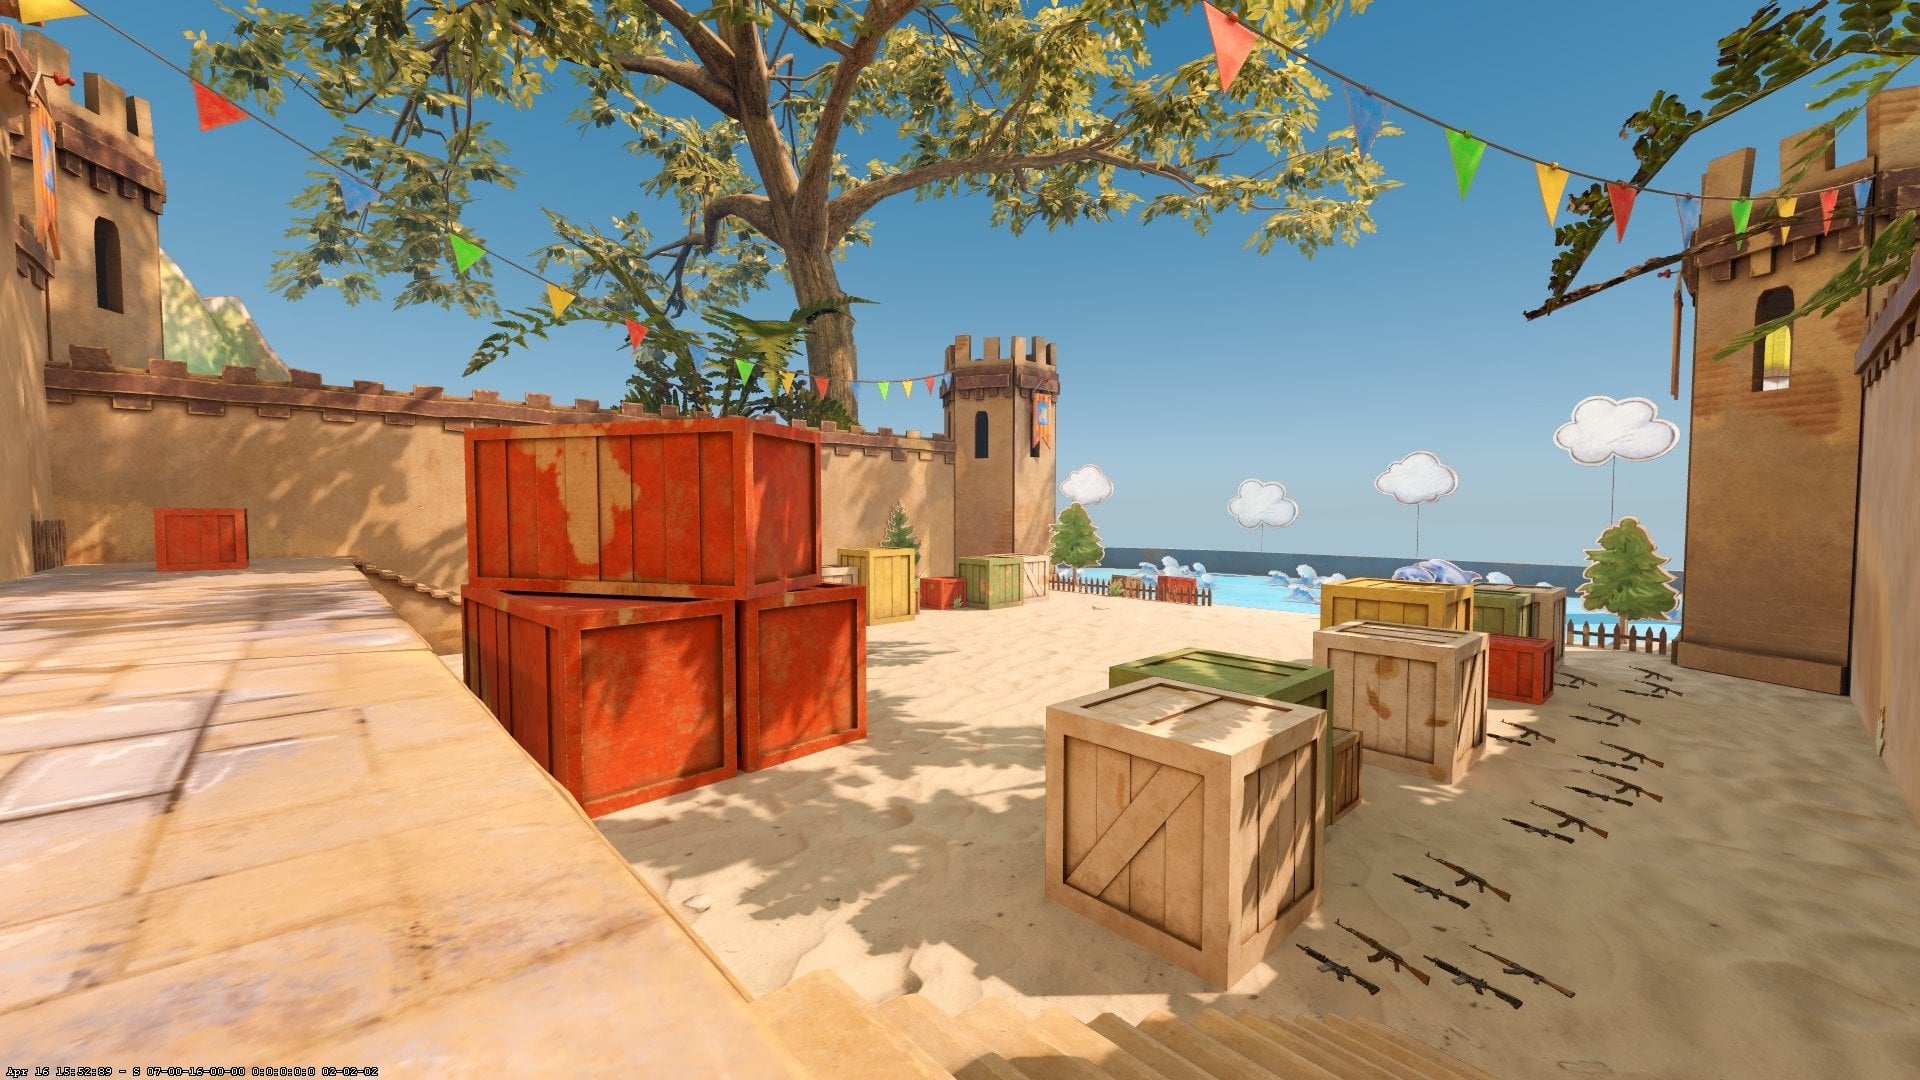
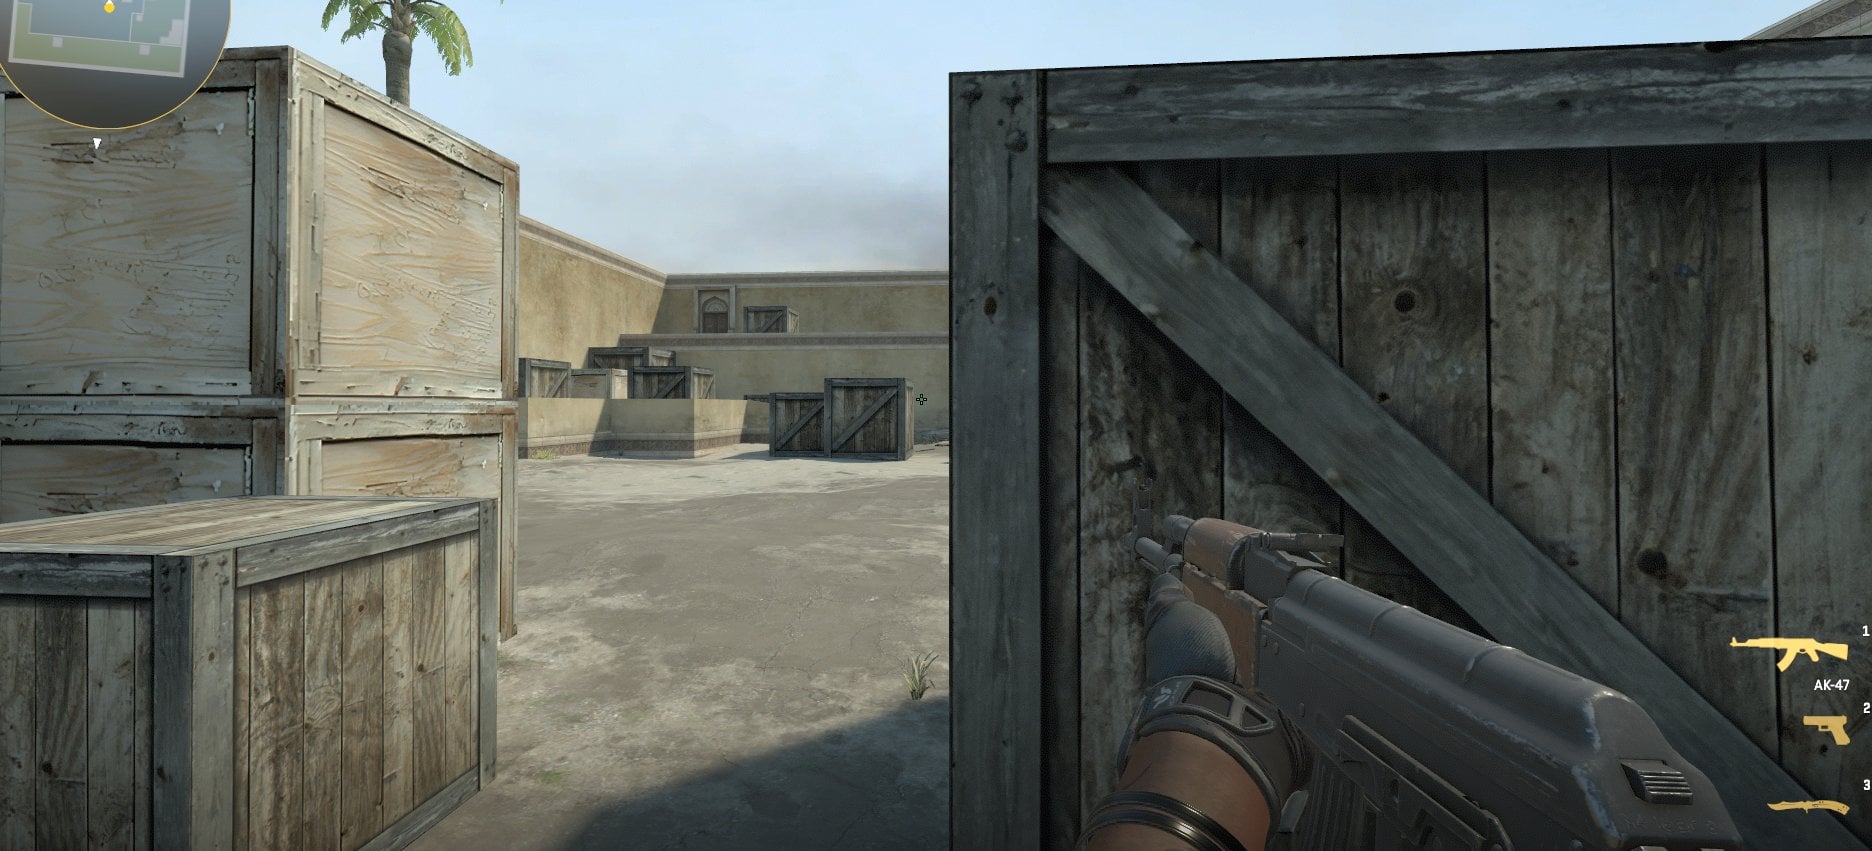
For a 1v1, you’ll want to select a map that’s well-suited for one-on-one gameplay. The map you choose plays a significant role in how the 1v1 will unfold.
Different maps offer different challenges, and selecting the right one can make the match more exciting and competitive.
Here are some popular maps for 1v1 duels:
If these maps don’t tickle your fancy, you can browse the Workshop yourself. It is filled with community-created maps, many of which are specifically designed for 1v1 matches. Simply search for ‘1v1’, ‘aim map’, or really anything you desire. Once you find a few maps that interest you, subscribe to them by clicking the green button.
If you don’t want to weed out the good one from the bad ones yourself, you can also read our article on the best 1v1 maps in CS2.
Once subscribed the maps will automatically be downloaded. You can find these maps in your “Workshop Maps” tab when setting up your match.
Step 3: Invite Your Friends & Launch The Map
There are a couple of ways to invite your friends to a custom CS2 map.
Have them join your lobby
The most straightforward way to have your friends join your map is by having them join your lobby. You can then select your map of choice and launch it. Your friend should then get a prompt to download the map (if they don’t already have it) and then they join automatically.
You can also invite friends via the Steam overlay, or friends can attempt to join your session via the game menu.
Connect via the console
Sometimes, going to a custom map with a friend gets finnicky. You can always start the map yourself (by clicking the big green ‘GO’ button) and then invite them via the console. Here’s how to do that:
- Open console, and type status; this will output a bunch of text, and at the top it will say Server: Running [numbers] these numbers are the IP address of your server.
- Send this IP address to your friend.
- Your friend then needs to open their console and type connect followed by the IP address. They will then join your server.
When launching a Workshop map, the game will ask what mode you want to launch it in. If Custom is selectable, choose that. If it’s not, choose Competitive. We’ll set up the game rules in the following step anyway. Just don’t choose Deathmatch or anything like that, since that mode isn’t round-based.
Step 4: Set Up The Game Rules
Once you’re in the map, you will want to set up 1v1 game rules. Open the developer console and enter the following commands:
- bot_kick – Removes any bots from the match.
- mp_roundtime 60 – 60 indicates that the time per round is one minute. You can increase or decrease it to your liking.
- mp_startmoney 16000 – Gives both players maximum cash to buy any weapons they want.
- mp_freezetime 2 – Reduces the amount of time that players are frozen at the start of the round. This makes 1v1 matches a lot quicker and action-packed.
- mp_restartgame 1 – Restarts the match to apply the settings.
If you’re playing on an aim map, the startmoney command isn’t usually necessary since they’ll normally have weapons on the ground that you can pick up.
Lastly, you can use commands like mp_ct_default_secondary weapon_deagle and mp_t_default_secondary weapon_deagle to limit weapons to pistols, or replace “deagle” with another weapon of choice for those times where you want to practice specific weapons.
Conclusion
Setting up a 1v1 is pretty easy once you know what you’re doing. Following these simple steps should get you in a classic, fast-paced 1v1 match with your friends in no time at all. The included commands will ensure that there’s not a lot of downtime and that you’re not being disturbed by bots or other distractions.
Good luck, and have fun!
Abdullah is a freelance writer for ProSettings.net