Binds are one of the most important aspects of configuring your CS2 setup. Figuring out good binds is as important as finding the perfect sensitivity. Having a few crucial binds enabled will not only make your life as a CS2 player a lot more comfortable, it will also increase your consistency and -as a consequence- your performance. In this guide, we’ll show you the essential CS2 binds as well as some optional QoL binds.
It’s worth noting that, in the summer of 2024, Valve banned many binds that combined multiple actions into one key. This was done in the wake of the Snap Tap ban, which banned certain keyboards technologies since they caused an uneven playing field. As a result, some of the ‘community favorites’ like jumpthrow binds are no longer allowed. Consequentially, they are excluded from this article.
We will be going over some binds that you won’t find in the control menu but are extremely helpful to have. For these binds, you need to know how to open your console in CS2. To implement these binds, simply paste the commands (at the bottom of each section) in your console and press enter. You can obviously exchange any of our assigned bind keys for a key of your own preference.
Competitive CS2 Binds
These CS2 binds are what most players consider essential. Even if you personally don’t use some of them, it’s essential to know about their existence. Most pro players have either all or some of these binds in their configs. If you want to check out a specific player’s config, feel free to check out our pro list.
Mouse Wheel Jump Bind
bind mwheelup +jump; bind mwheeldown +jump; bind space +jump
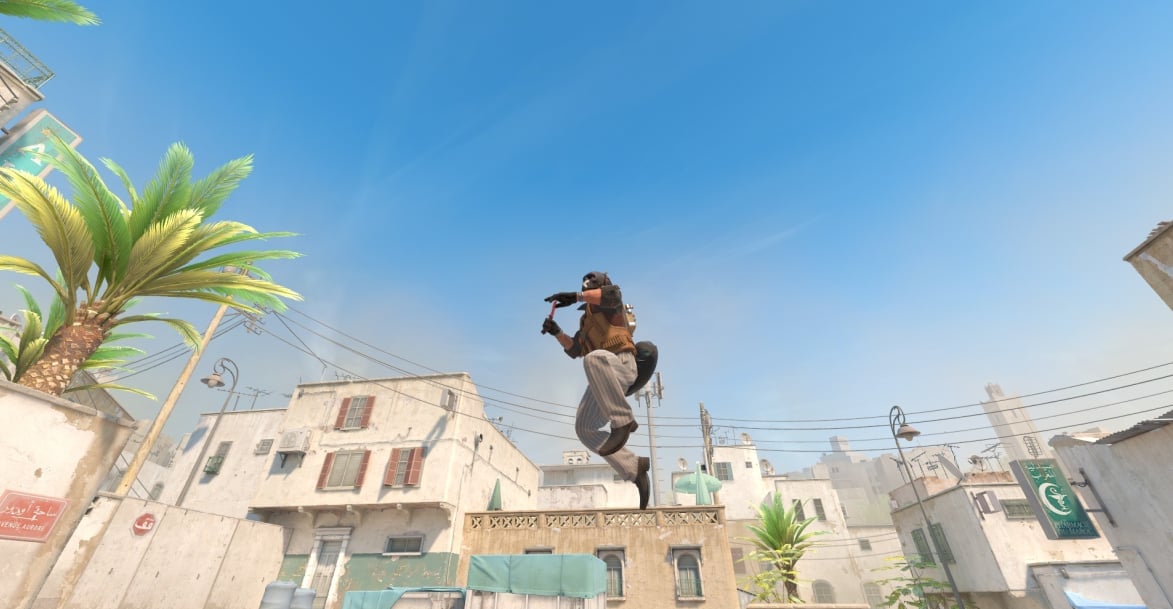
The vast majority of CS2 players use the scroll wheel to jump. The reason for this is that it enables you to spam multiple inputs in a short time (one big scroll can equal five or six space bar pushes) which makes it easier to hit precise jump timings. Originally, the wheel jump was conceived to make bunnyhopping easier and more consistent. Today, bunnyhopping isn’t as relevant in CS2 as it was in earlier iterations of the game, but binding jump to your scroll wheel still makes your jumps a lot more consistent and it can help with skill jumps.
It’s worth noting that you can double bind jump. If you like to use the space bar to jump in low-stress scenarios and use the scroll when doing skill jumps, you can do just that. The bind we have here binds jump to both scroll direction as well as space bar.
Nade Binds
bind Z "slot7"; bind X "slot8"; bind C "slot6"; bind V "slot10"
If any CS2 bind is to be considered ‘essential’, it would be this one. Having every (important) nade bound to its own key is objectively better than having to repeatedly press ‘4’. If you’re getting rushed by enemies, having the ability to instantly select and throw a molotov to stop it rather than having to scroll through multiple irrelevant grenades first can mean the difference between a won round and a lost round.
The above is just one example, but we can give tons more. A teammate who is taking contact asking for a support flash, quickly finishing off a wounded enemy during a frantic fight, … Those are all examples where time is of the essence.
It’s clear and simple: scrolling through your nades is a subpar solution compared to the alternative.
You can bind these nades in the game settings, but if you’re doing it through the console, it’s important to know the ‘console names’ of each nade:
- HE grenade – slot6
- Flashbang – slot7
- Smoke grenade – slot8
- Molotov/incendiary – slot10
In the example above, we have the nades bound to ZXCV, but feel free to experiment with this.

Jumpthrow Binds
In CS:GO and early CS2, a lot of players used jumpthrow binds. This allowed them to perfectly execute a jumpthrow every single time. However, in CS2, the window for making a perfect jumpthrow is much larger, thus making them a lot easier to hit manually. On top of that, Valve has also banned binds like jumpthrow binds. As such, we won’t be including jumpthrow binds in this article.
With a little bit of practice, hitting jumpthrows every single time is very easy in CS2.
Optional CS2 Binds
These binds are not must-haves and you can still play without them. Setting them up can improve your QoL as a CS2 player though, so we’ve listed the most useful optional binds.
Mute Voice Chat Bind
bind t "voice_modenable_toggle"
Nothing is more frustrating than your teammates being loud on the voice chat when you are in a clutch situation. They might mean well and could be giving important information, but the noise can really throw you off. For this reason, having a bind that quickly mutes all voice chat is really helpful, as it allows you to focus better on the situation and possibly clutch a round.
Buy Binds
Buy binds allow you to select a buy you want just by pressing a single button. For example, a common T-side buy is armor, AK, and nades. You can set it up in a way that on the press of a single button, you automatically buy all of this. You can also set up different buys for different economic strategies. If you want to set up buy binds, there are multiple tools that allow you to do that online.
Drop Bomb Bind
alias "+dropbombbind" "slot3; slot5"; alias "-dropbombbind" "slot3; slot5; drop"; bind x "+dropbombbind"
As the name suggests, this is a bind to quickly drop the bomb. Doing it manually by pressing “4” and “G” is fine as well, but we can be a bit more efficient by setting up a bind for it. This bind will also automatically switch back to your primary weapon after dropping the bomb.
Noclip
bind v "sv_cheats 1; noclip"
Noclip is a command that lets you travel through walls and floors and move much faster. Obviously, this command can’t be used in regular matches but it is incredibly handy for when you’re practicing nades or just exploring a map by yourself. If you’re worried about cheating: don’t. If you’re playing on official servers and you accidentally press the noclip key, nothing will happen. The command simply won’t work. You won’t get banned, kicked, or anything like that.
How to Set Up Custom CS2 Binds
As mentioned, a lot of these binds can simply be pasted in the console. You open the console by pressing ‘~’. If this doesn’t work, you need to enable the developer console in your settings.
If you want to make sure your custom binds are always loaded, it’s useful to set up a CS2 config. You can learn how to do that in our dedicated article.
Conclusion
It’s true that a lot of settings come down to personal preferences. However, it’s also true that some settings are objectively better than others. The same is true for CS2 binds. Something like having a bomb drop bind is completely optional, but if you’re someone who is still scrolling through their nades in order to select the right one, you’re doing yourself and your team a disservice. Having the right binds can and will improve your gameplay, so we encourage you to try out the binds in this list and see which ones work for you.