Introduction
Ducky is a household name in the mechanical keyboard business. With their new ProjectD line of keyboards, the brand is trying to innovate by making customization easier than ever. We’ve already reviewed the current flagship board of this series (see our Ducky ProjectD Outlaw 65 review) and today we’re taking a look at the more budget-oriented ProjectD board. Is the ProjectD Tinker 65 the budget custom board you’re looking for? Find out everything you need to know in our full ProjectD Tinker 65 review!
At A Glance
Ducky Tinker 65
The Ducky Tinker 65 is a great budget keyboard with a hotswappable PCB. If you’re on a budget and you’re mostly looking for a basic keyboard with a bunch of enthusiast features (gasket mount, case and plate foam, lubed stabilizers) in it, you’re good to go with this one.
Pros
- Affordable
- Very decent (lubed) stabilizers
- Hotswappable PCB
- Acoustic foams included in the case
- Good quality stock keycaps
Cons
- Plastic case feels a little cheap
- No real way to completely open up the board, which is strange for a keyboard called ‘Tinker’
- Gasket mount isn’t very noticeable when typing
Specs
| Form Factor |
65% |
| Switches |
Cherry MX Blue, Cherry MX Brown, Cherry MX Red, None (Barebones) |
| PCB |
Non-Hotswappable |
| RGB |
Yes |
| Height |
4.0 |
| Width |
32.0 |
| Length |
12.5 |
| Weight |
590 |
First Impressions
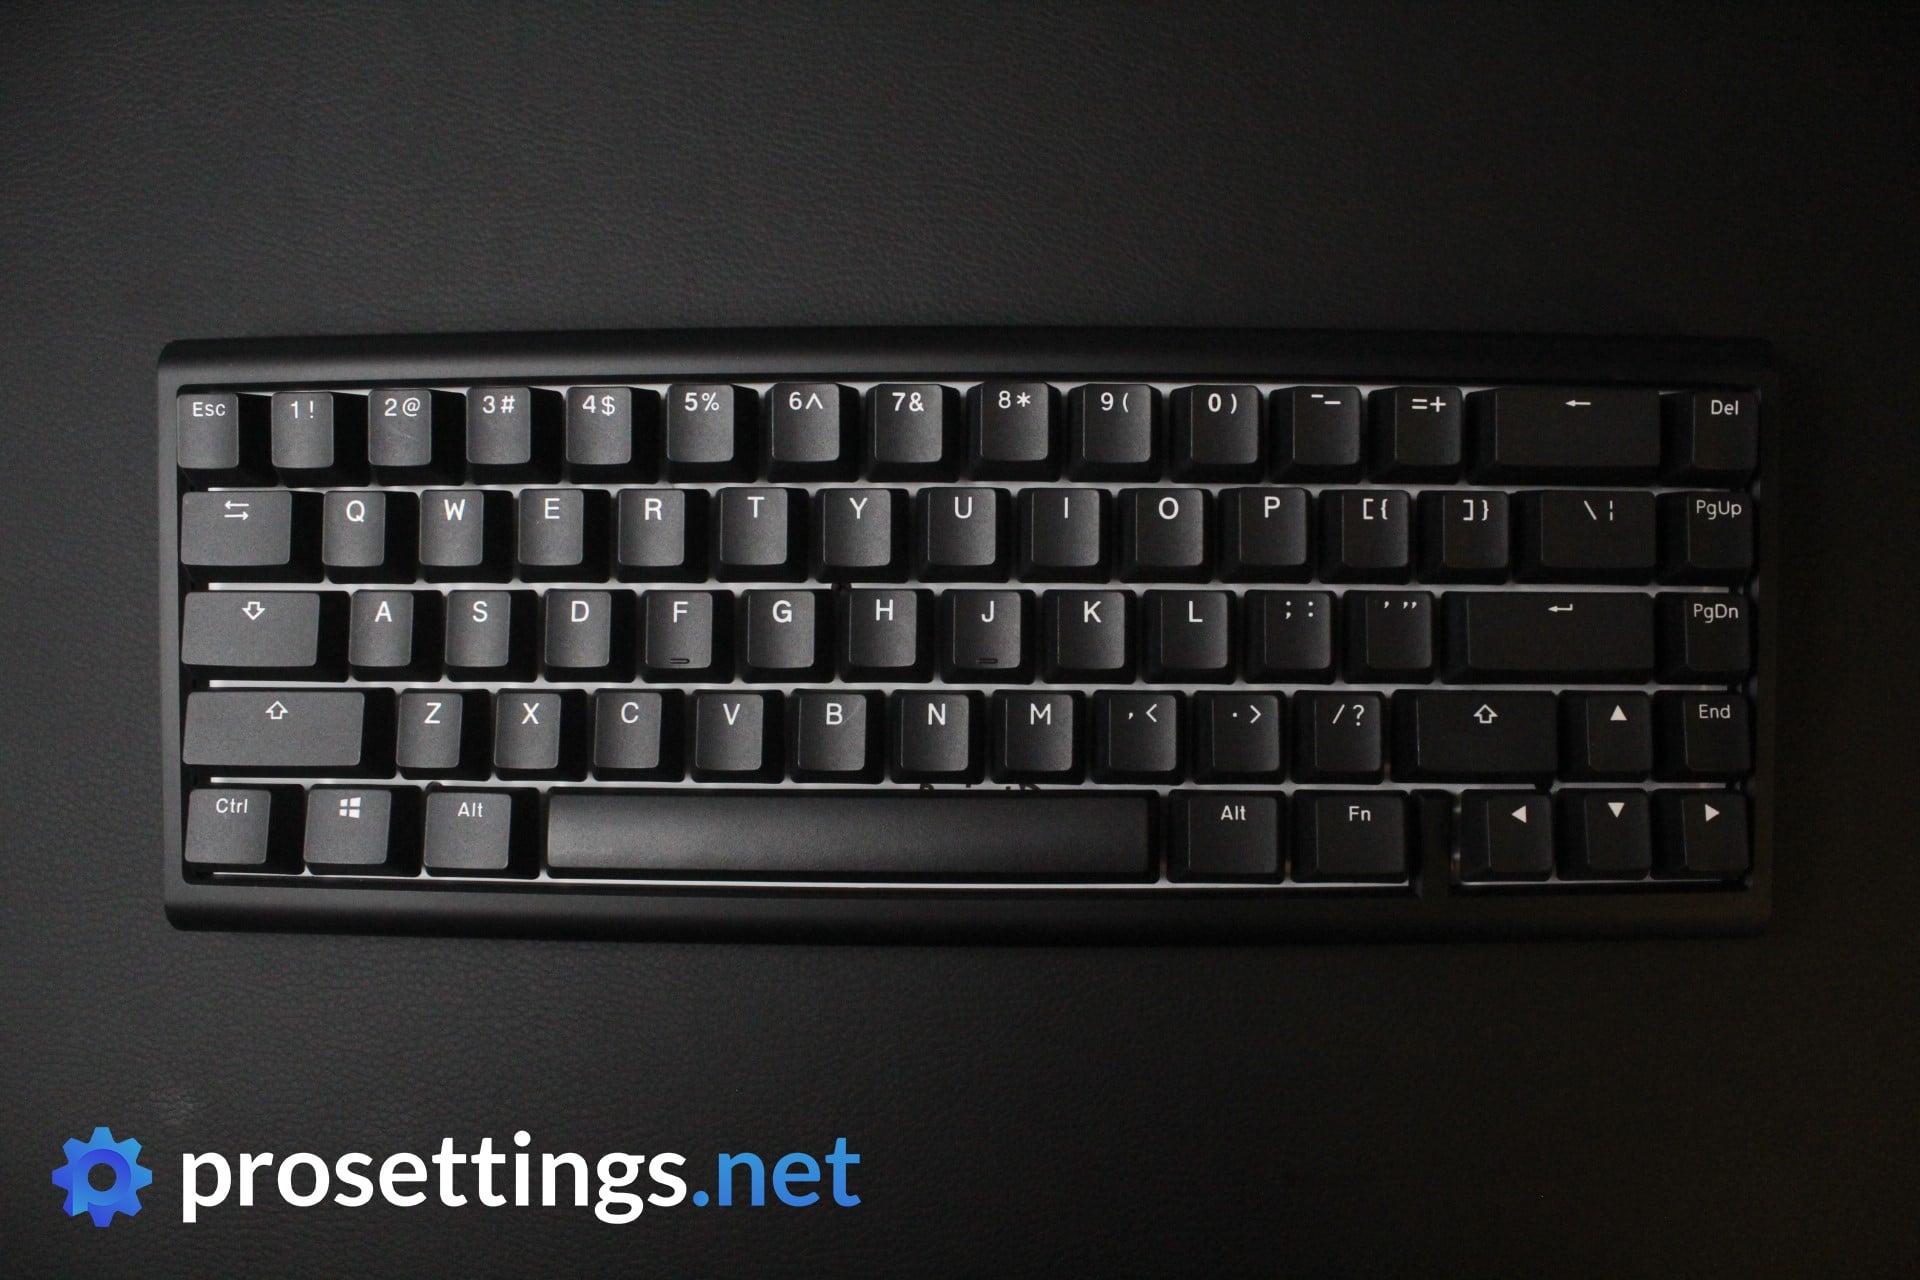
There’s not a ton to note about the ProjectD Tinker 65 when you first unbox it. It’s a very standard plastic mechanical keyboard. The version I got in for review came pre-assembled with Cherry MX Red switches and black keycaps, making for a clean looking keyboard.
The board follows Ducky’s design style with its rounded edges and ‘gamery’ cutouts and bevels, but all in all this board looks pretty standard and probably won’t offend anyone.
I do wish that they painted the side in black as well. My board has white side panels (as well as a white bottom section) and to me that kind of cheapens the overall look, though I realize that this is entirely subjective.
Packaging
- Keyboard
- USB-C cable
- Keycap puller
- Switch puller
- User documentation
Features and Build Quality
Materials and Design
The entire case of the ProjectD Tinker 65 is made out of plastic. That’s not a problem by itself, as that’s to be expected from a budget keyboard. Sadly, the case feels and looks a little cheap to me. This is not only due to the black/white case design but also due to the look and feel of the actual finish. It’s matted somewhat but it’s still a bit shiny, and the top section picks up fingerprints rather easily.
Most Ducky keyboards are made out of plastic and I’ve never had an issue with their finishes, but this Tinker 65 just looks and feels ‘off’ to me for some reason. I fully realize that this is subjective, though.
Something that’s a little less subjective is the flex test. Applying pressure to the keyboard when holding it causes it to bend and flex quite a bit. This indicates that the plastic used isn’t very thick. Keyboards obviously sit on desks most of the time so this isn’t a huge deal, but I’ve seen better from Ducky on this front.
On the bottom of the case there’s a nameplate and two sets of flip-up feet.
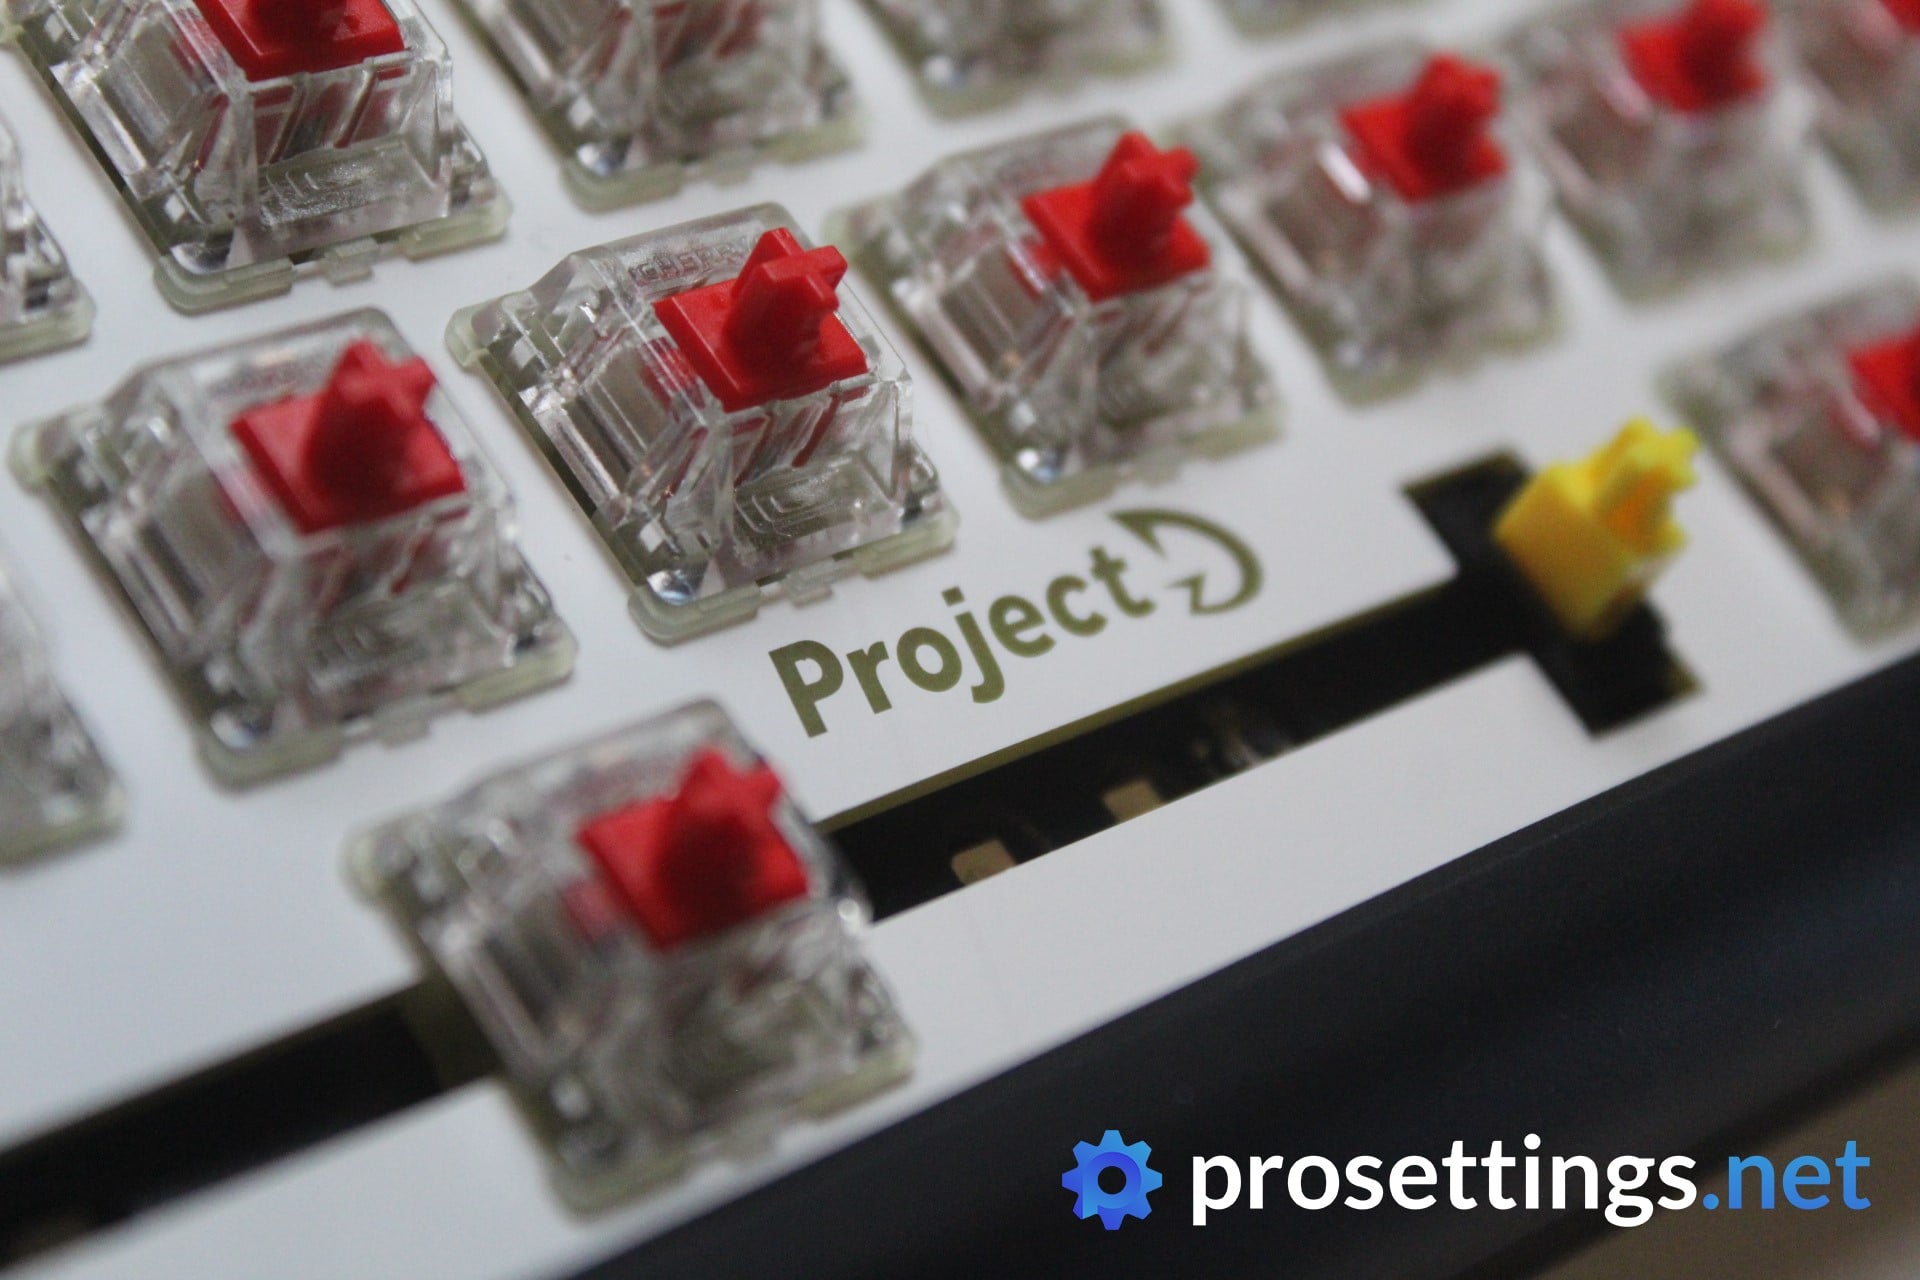
Hotswap PCB
The ProjectD Tinker 65 comes with a hotswappable PCB. This means that you can very easily swap out switches in case you get tired of your current ones. It’s a south-facing PCB with LEDs underneath, and you can use any 5-pin (or 3-pin) Cherry MX-style switch. The included switch puller makes swapping switches a task that takes less than 15 minutes.
Hotswappable PCBs are a must in enthusiast-level keyboards if you ask me, as it allows fans to try out a variety of switches without having to break out the soldering iron all the time.

Keycaps
You can order a barebones version (without switches and keycaps) and an assembled version of this board. I got the assembled version, which came with black Ducky keycaps. These are double-shot PBT with a pleasant amount of texturing to them. The font is very neutral and sharp, and I’m a big fan of this straightforward white-on-black keycap set.
Something I should note is the fact that there’s an issue with the spacebar. It seems like there’s a problem with the part where the switch stem goes. No matter what switch I try, the spacebar always sags to one side if it’s not pressed in the absolute center. Despite the fact that this is an annoying issue, I’ve also tried enough Ducky keycaps to assume that this is probably an unfortunate QC mishap and not a systemic issue.
Gasket Mount
The Tinker 65 is a gasket mounted keyboard. In case you don’t know; a gasket mounted keyboard uses gaskets (who would’ve thought) on the contact points between the plate and the housing. This way, the plate doesn’t make direct contact with the case. In theory, this results in a softer and more cushioned typing experience.
There are definitely gaskets on the inside, but the board is using a very stiff rubber material here that doesn’t really offer a ton of dampening. This is partially a preference thing, but when I think of gasket mounted keyboards I think of keyboards with a bit more cushioning to them. The overall experience with these gaskets is very stiff.
Aside from the feeling, gaskets also reduce the amount of annoying noises in a keyboard, so it’s good to see this mounting style make its way to more affordable keyboards even if I’m not a huge fan of the materials they’ve chosen here.

Acoustic foams
Inside the case you’ll find a sheet of case foam and another layer of foam between the PCB and the plate. This is included to reduce case ping and other annoying sounds, and I love things like this. With gaming keyboards, the auditory experience isn’t as important to me since I mostly use those with a headset on anyway, but on a productivity keyboard the sound is as important as the overall feeling. As such, it’s lovely to see these foams and gaskets included in this budget keyboard.
The Tinker Aspect
The slogan for ProjectD line of keyboards (to which the Tinker 65 belongs) is ‘break free from the constraints’. While that might be a good one for the Outlaw 65 (Ducky Outlaw 65 Review) it’s not really apt for this keyboard if you ask me. Sure, there’s the hotswappable PCB, but a ton of keyboards have that.
For a keyboard called ‘Tinker’, there’s really not a lot to tinker with. You can open the case and get to the insides of the board, but in order to do so you need to pull off the top section of the case. This is a process that causes a lot of bending and creaking, and it definitely doesn’t feel like the product was made for this. I strongly discourage opening the case as it can cause pieces of the plastic top portion to snap off. Do this at your own risk.
To me, there’s a missed opportunity here. Why not make the case more straightforward to open so that keyboard enthusiasts can take a look inside? Why not include a small manual explaining how to open the board and what each component does? This way, users could do things like remove the foam to see how that influences the sound. They could’ve also added an additional set of gaskets to try out, for example.
Sure, these things will drive up the cost somewhat, but it would make this an actual board to tinker with. Right now, the Tinker 65 is ‘just’ a well-executed budget mechanical keyboard.
QMK + VIA Compatible
Ducky keyboards come without software so all lighting configuration will need to be done on the keyboard itself. I’ve long been asking for (optional) Ducky software for people who want to create intricate lighting profiles and record macros, but this isn’t available from Ducky themselves.
The Tinker 65 is compatible with VIA and QMK though. These are third-party apps that’ll allow you to customize the keyboard. They’re pretty much the standard in the custom keyboard scene, so it’s good to see that Ducky is making their boards compatible with these programs. They’re lightweight, trusted by the community, and get the job done.
If you don’t want to download any software you can still configure the board the old school way. There’s a ton of stuff you can do by pressing a variety of button combinations on the keyboard itself, so unless you want to program some really complicated things you don’t even need any downloads.
Typing and Gaming Experience
Stabilizers
The screw-in stabilizers are pre-lubed, and this is done well. There’s very little rattling and all the stabs feel consistent. No factory-done lubing job is ever going to compare to hand-lubed stabilizers (or switches) but the ProjectD 65 does give a number of other, more expensive mass-produced keyboards a run for their money here.
Gaming
The Tinker 65 doesn’t offer any specific gaming features, but you can comfortably game with any good mechanical keyboard. There are no issues with the responsiveness of the ProjectD Tinker 65, and despite the fact that this is a 6KRO board (meaning you can’t press more than 6 buttons at the same time) and not an NKRO board it will perform flawlessly in your games. Unless you regularly need to press more than 6 buttons at the same time, but I suspect this won’t apply to very many people.
Something to note when it comes to gaming performance is that this board uses traditional mechanical switches. Over the past year, customizable switches (such as the OmniPoint switches by SteelSeries) have been getting more and more common in gaming keyboards. These definitely offer in-game advantages, so if you’re after a pure gaming keyboard and you play games where movement and input precision matter a lot it’s probably best to look elsewhere.
With that said: professional gamers were and still are using mechanical switches with no issues, so it’s not as if you’ll be severely handicapped if you use this board for competitive gaming. It’s just that there are more technologically advanced options out there these days.
Overall Experience
This board pays a lot of attention to the typing experience , and this can be heard and felt. Of course the overall feeling and sound of the Tinker 65 will be greatly influenced by the switches that you use, but there is no case ping or echoing going on with the Tinker 65, and thanks to the great stabilizers the whole experience feels very pleasant.
My keyboard came with Cherry MX Red switches (the old ones, not the newer MX2A switches) but I tried a couple of other switch configurations and they all sounded satisfying. The sound test below was recorded with the aforementioned Cherry MX Red switches and the stock Ducky keycaps that the board came with.
Sound Test
Conclusion
The ProjectD Tinker 65 is a great budget keyboard with a hotswappable PCB. If you’re on a budget and you’re mostly looking for a basic keyboard with a bunch of enthusiast features (gasket mount, case and plate foam, lubed stabilizers) in it, you’re good to go with this one.
Don’t expect this to be a multi-configuration board that allows you to experiment with it, however. You can swap the switches without opening the board, but anything other than that seems to be discouraged given how finnicky it is to open the case. As such, I find the ‘Tinker’ name to be a bit misplaced. There’s not much tinkering to be done, aside from swapping out the switches. What’s in a name though, right?
The lack of any dedicated gaming features makes this a bit less suited for people who want to buy a board that’s only going to be used to frag out with, but as a standalone budget keyboard this is an interesting product.
You can learn more about the ProjectD Tinker 65 on Ducky’s website.
This product was received for free from the manufacturer and given to our reviewer to test and review. Brands and manufacturers have no editorial control over our reviews. For more information, check out our review FAQ.
Former semi-pro gamer turned writer, product reviewer, and community manager.